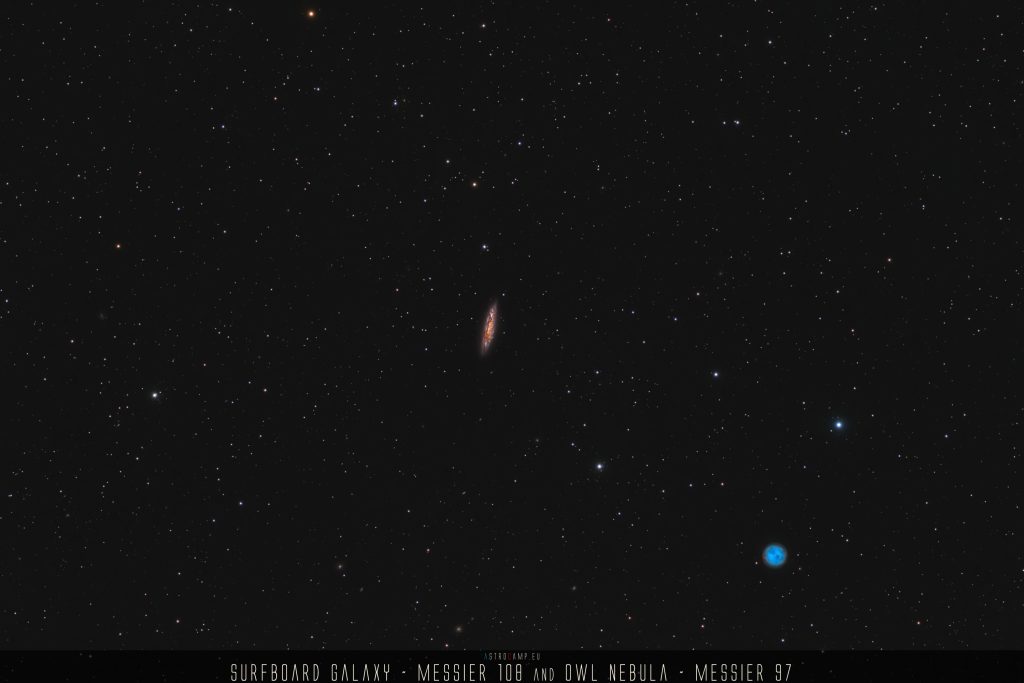
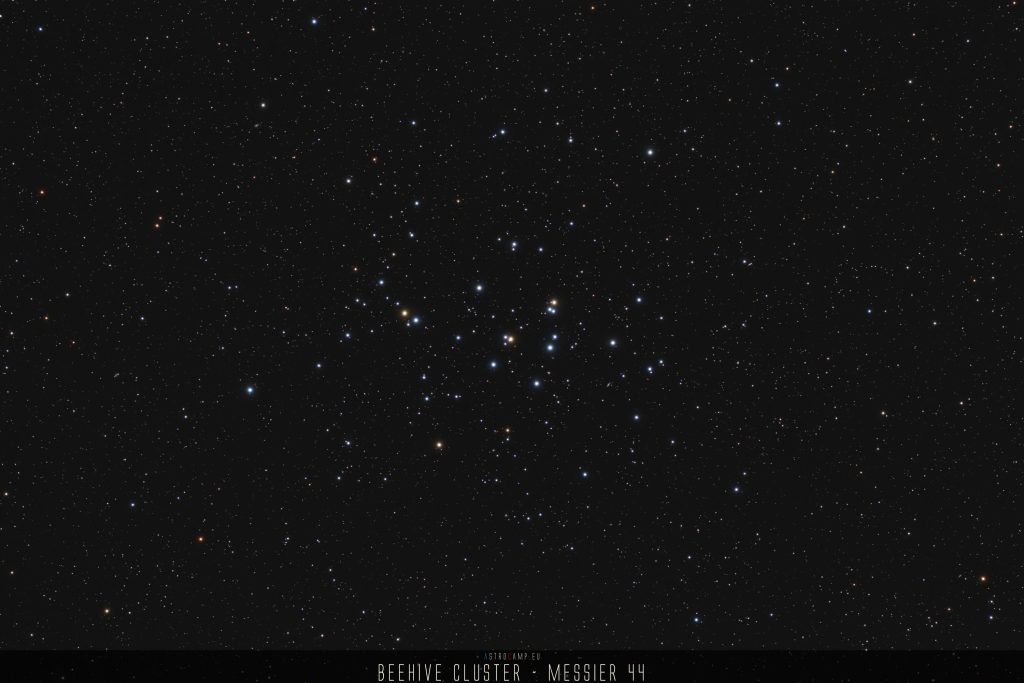
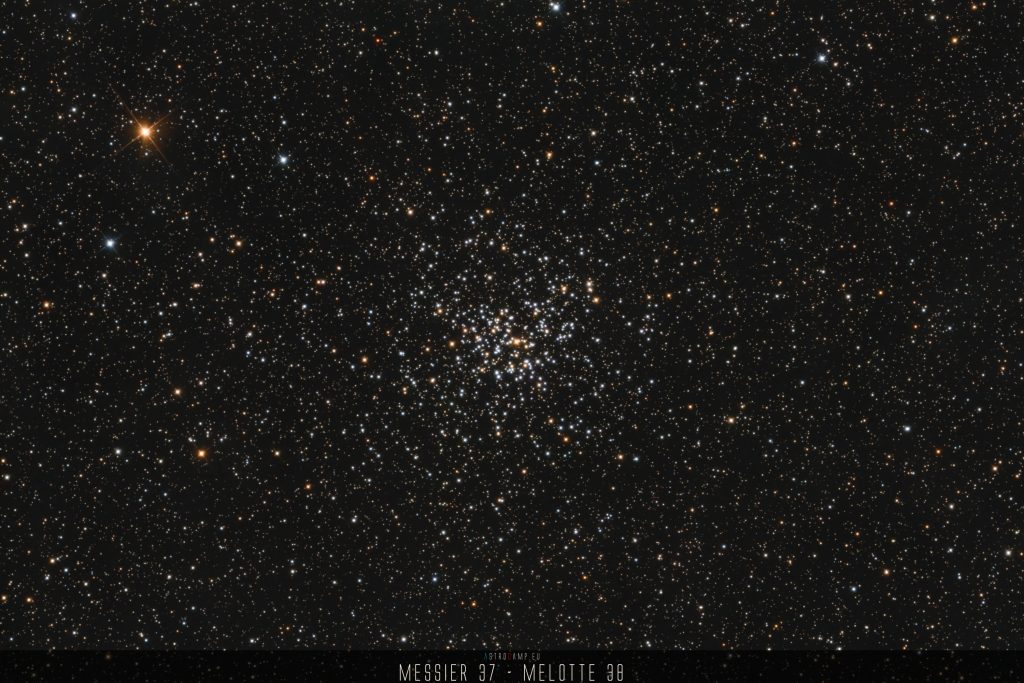
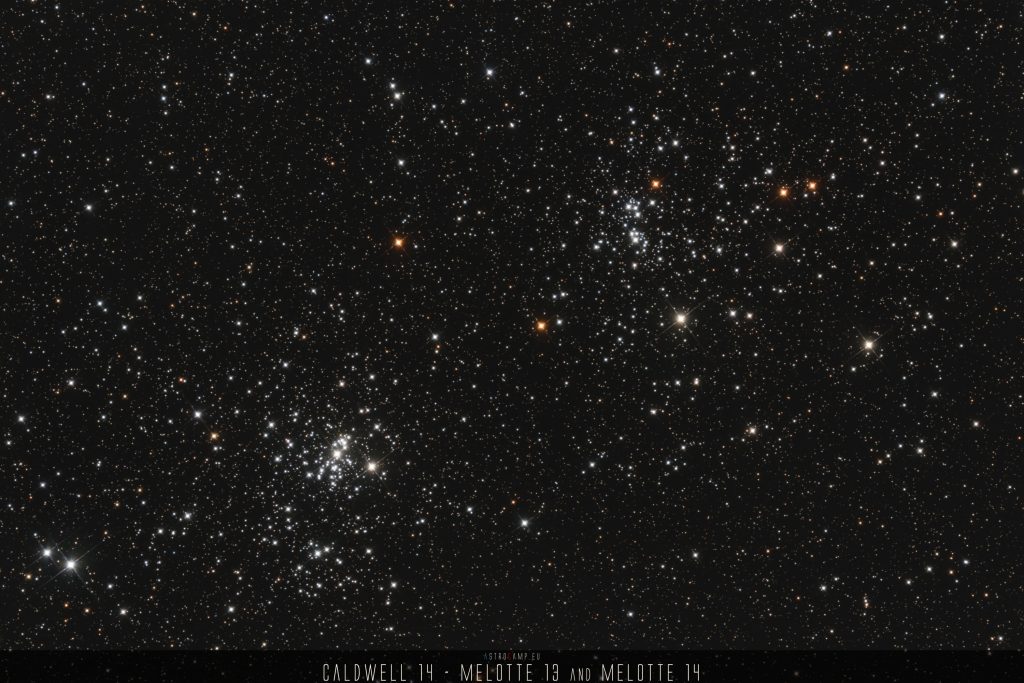
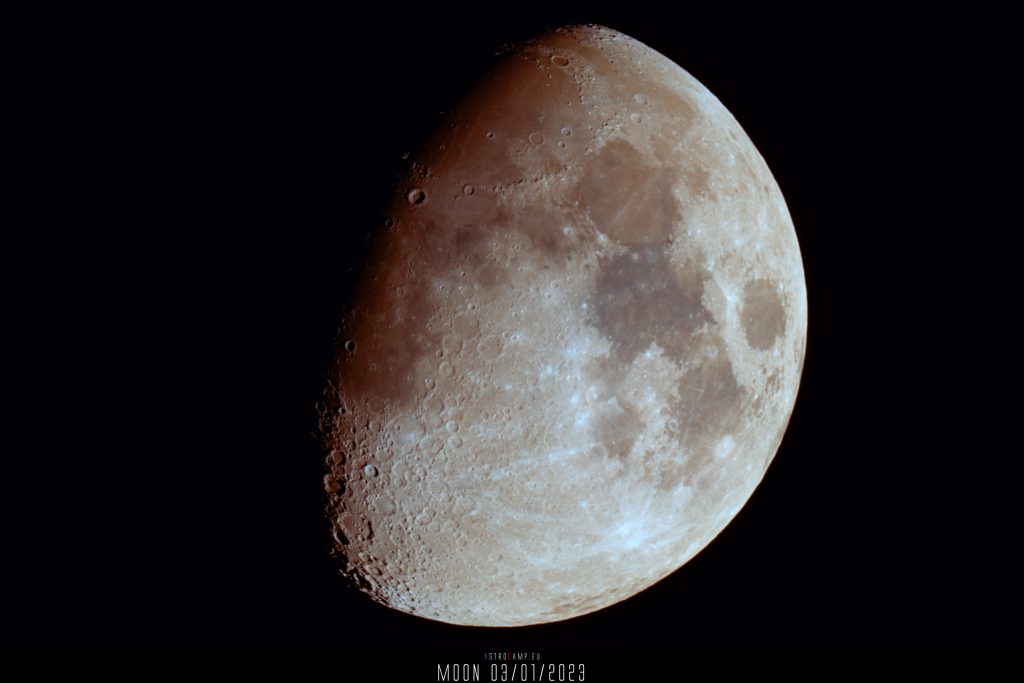
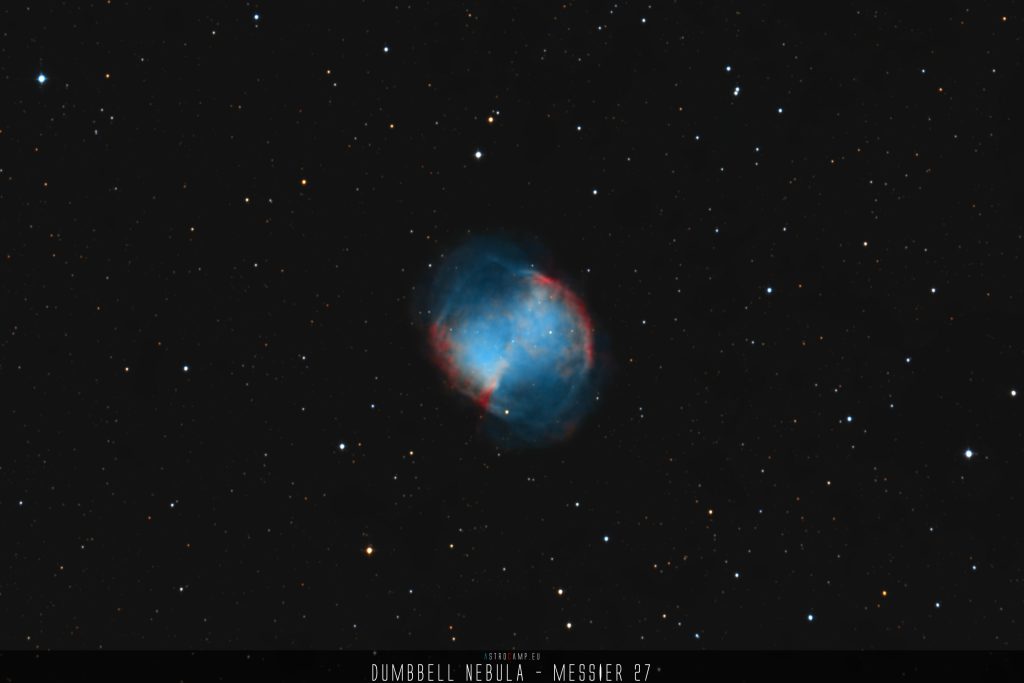
With my switch to the Baader Travel Companion 95/590, I finally have in my hands the fully full-frame compatible telescope that I had fallen in love with.
Repeat Offender
Therefore, I must now accompany my beloved CANON EOS M100 with a full-frame camera. After much consideration and consultation with the expert on astro-compatible DSLR/DSLM sensors, Markus Meel, I opted for the CANON EOS R.
Three years ago, I successfully and completely satisfiedly had my M100 modified by Markus. So, what could be more natural than doing it again the same way?
I acquired a used EOS R, which happened to be on a Saturday. I dropped off the package at DHL on Monday, and by Thursday, I already had my fully astro-modified CANON EOS R back in my hands! It really can’t get any faster! Thanks for that!
To complete the whole setup, I had Markus include the removed OWB filter as a clip-filter at a reasonable additional cost. From my perspective, anything else for such a camera would be a waste – this way, it remains available for “normal” daylight photography.
How does the astro modification affect astrophotos?
In astrophotography, many nebulae emit light in the wavelength range of 656.3 nm, known as the H-α line. In common DSLR/DSLM cameras, this wavelength range is significantly “filtered out” by a built-in filter (the OWB filter – Original White Balance filter) located in front of the sensor. As a result, in astrophotography, photons from this range do not reach the sensor.
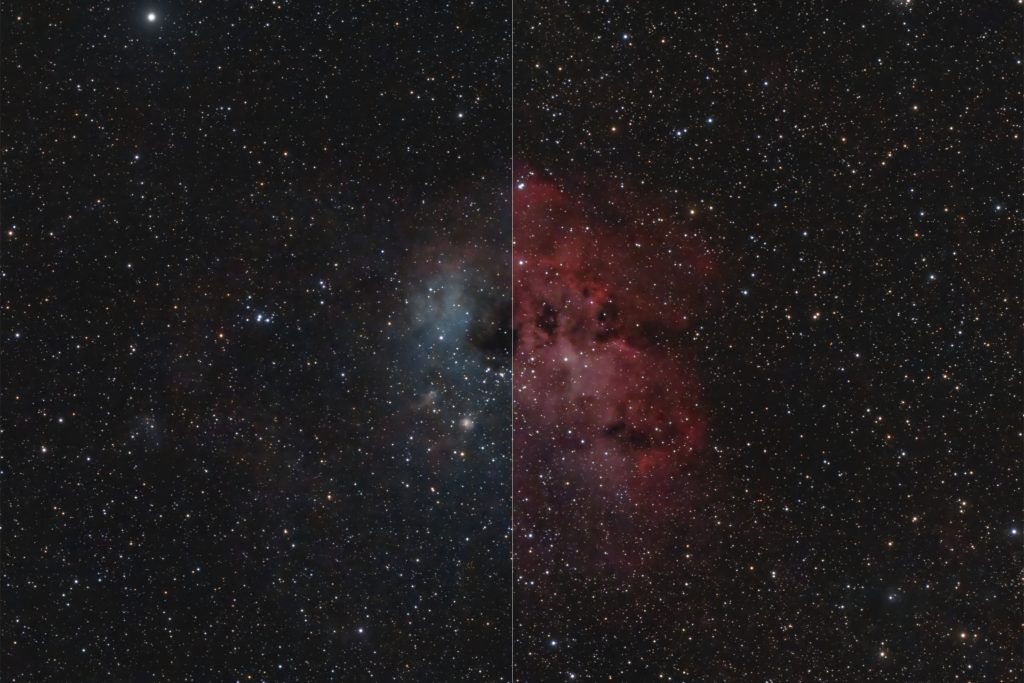
Here is a direct comparison of two processed images of an H-α region, the emission nebula Sharpless 230. The individual photos of both images were taken on the same evening, almost just before the interference of the full moon. Each set of images used 30 individual frames, each with a 60-second exposure time. This exposure time is, of course, too short for a beautiful photo but more than enough to illustrate the effect:
Both images were captured, integrated, and processed with exactly the same parameters. The only difference is the removed OWB filter in the right image.
Astro Modification by Markus
The cameras come equipped with two filters: the OWB/Blocking filter and the UV/IR filter. In the ‘standard’ astro modification, only the OWB filter is removed, serving the purpose mentioned earlier.
There is also the option of a full conversion, where the UV/IR filter is also directly removed. However, in astrophotography, this filter is typically desired.
Markus once measured the filter glasses. Here are the results:

For anyone engaged in astrophotography, there comes a point where they learn that filters/glass can influence the light path, often involving fractions of a millimeter that can make a difference in achieving round stars. Therefore, it is crucial to know the exact position of the sensor in the camera, especially when a glass plate has been removed. Markus measures the sensor’s position using a laser and precisely aligns it with the new altered plane, allowing the manufacturer’s specified flange distance to be maintained. This alignment can be even more accurate than that done by the manufacturer.
The OWB-Clip Filter
The OWB-Clip Filter and using the DSLR/DSLM during daylight. There are days when I want to use my EOS R – and before that, the EOS M100 – during the day. The absence of the OWB filter doesn’t contribute to the joy in such situations. It’s really great that Markus offers the removed OWB filter in a 3D-printed holder as a clip-in filter. The inserted filter looks like this in my EOS R:

Here are two photos intended to illustrate daylight usability. Both photos were taken with the EOS R using an Olympus OM vintage lens.


The link to Markus
As a repeat customer, I can only recommend Markus’s service and the quality of his work. For contacting him, I recommend visiting his website. You can reach it at: http://www.astro-modifikationen.de


