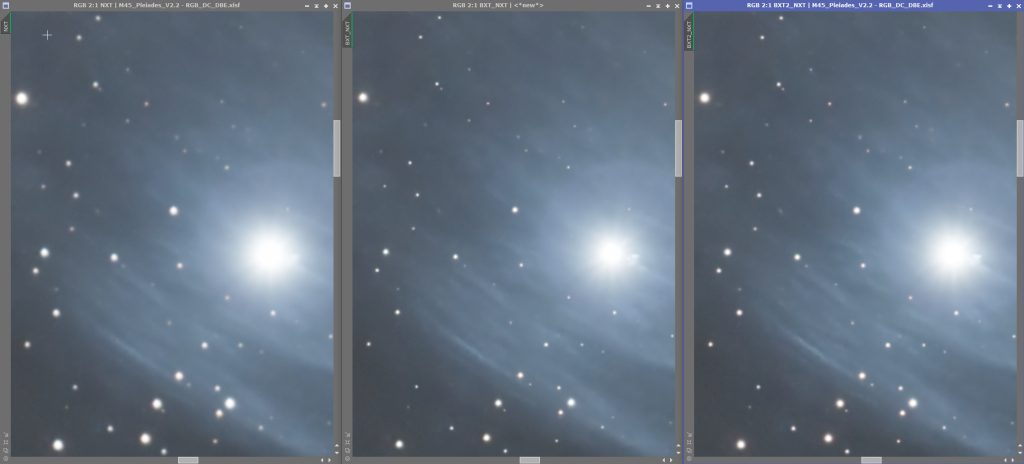
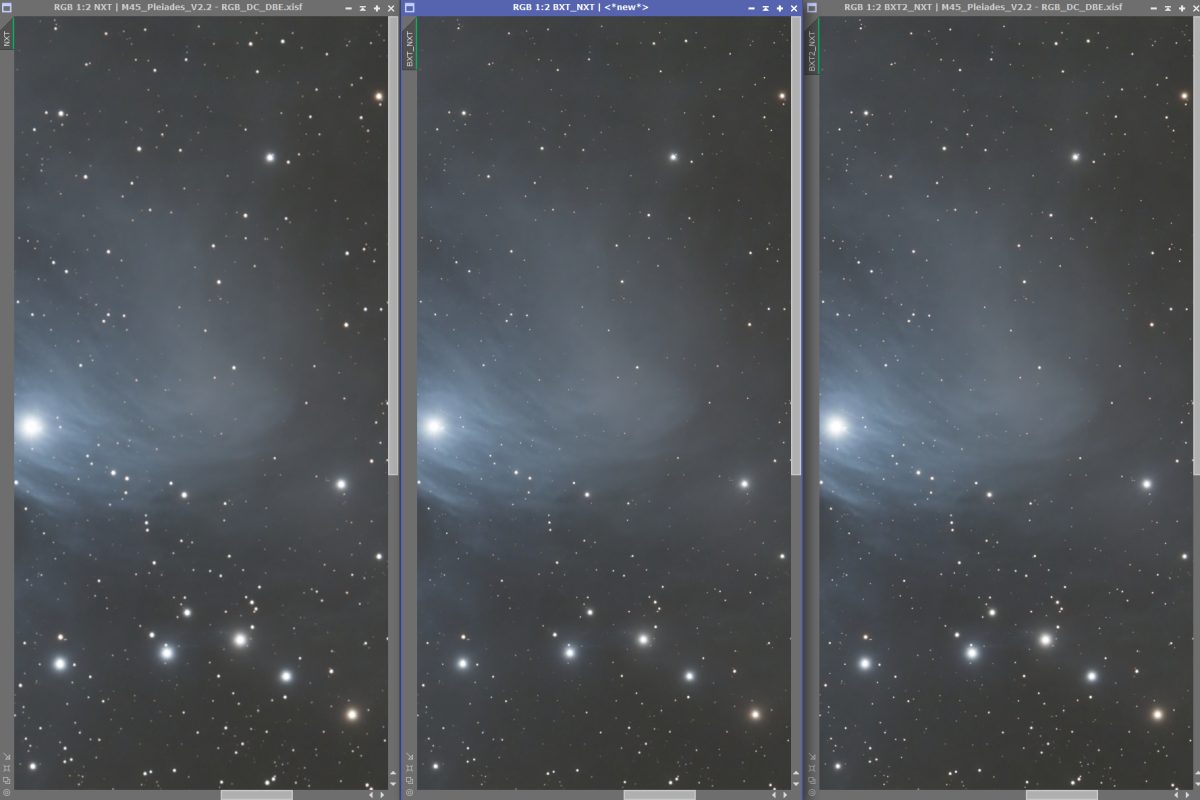
natural vs BXT vs BXT2
Cloudy months lead to what? … Reprocessing astrophotos!
This happened one evening in December when I had the material from 2 astrophotos with the Pleiades in hand. After integrating and color calibrating, I looked at the image and thought, ‘I’ll try this BlurXTerminator now.’ My trial period had somehow already passed unused. Since I’m already very satisfied with NoiseXTerminator and StarXTerminator, I then purchased, installed, and applied it.
One day later BlurXTerminator 2 was released. I added my test results here.
used Material
As mentioned earlier, it was older material, specifically from the Pleiades, captured with my first telescope, the long-sold VIXEN ED80sf with a universal flattener from TS.
What I mean to convey is that I didn’t use high-end material here (which is rare for me anyway) but rather the quality of an entry-level device.
without and with BlurXTerminator
I’ll preempt my result: I’ll reprocess all of my astrophotos using my new workflow, including BlurXTerminator 2. Surely, there will be plenty of clouds.
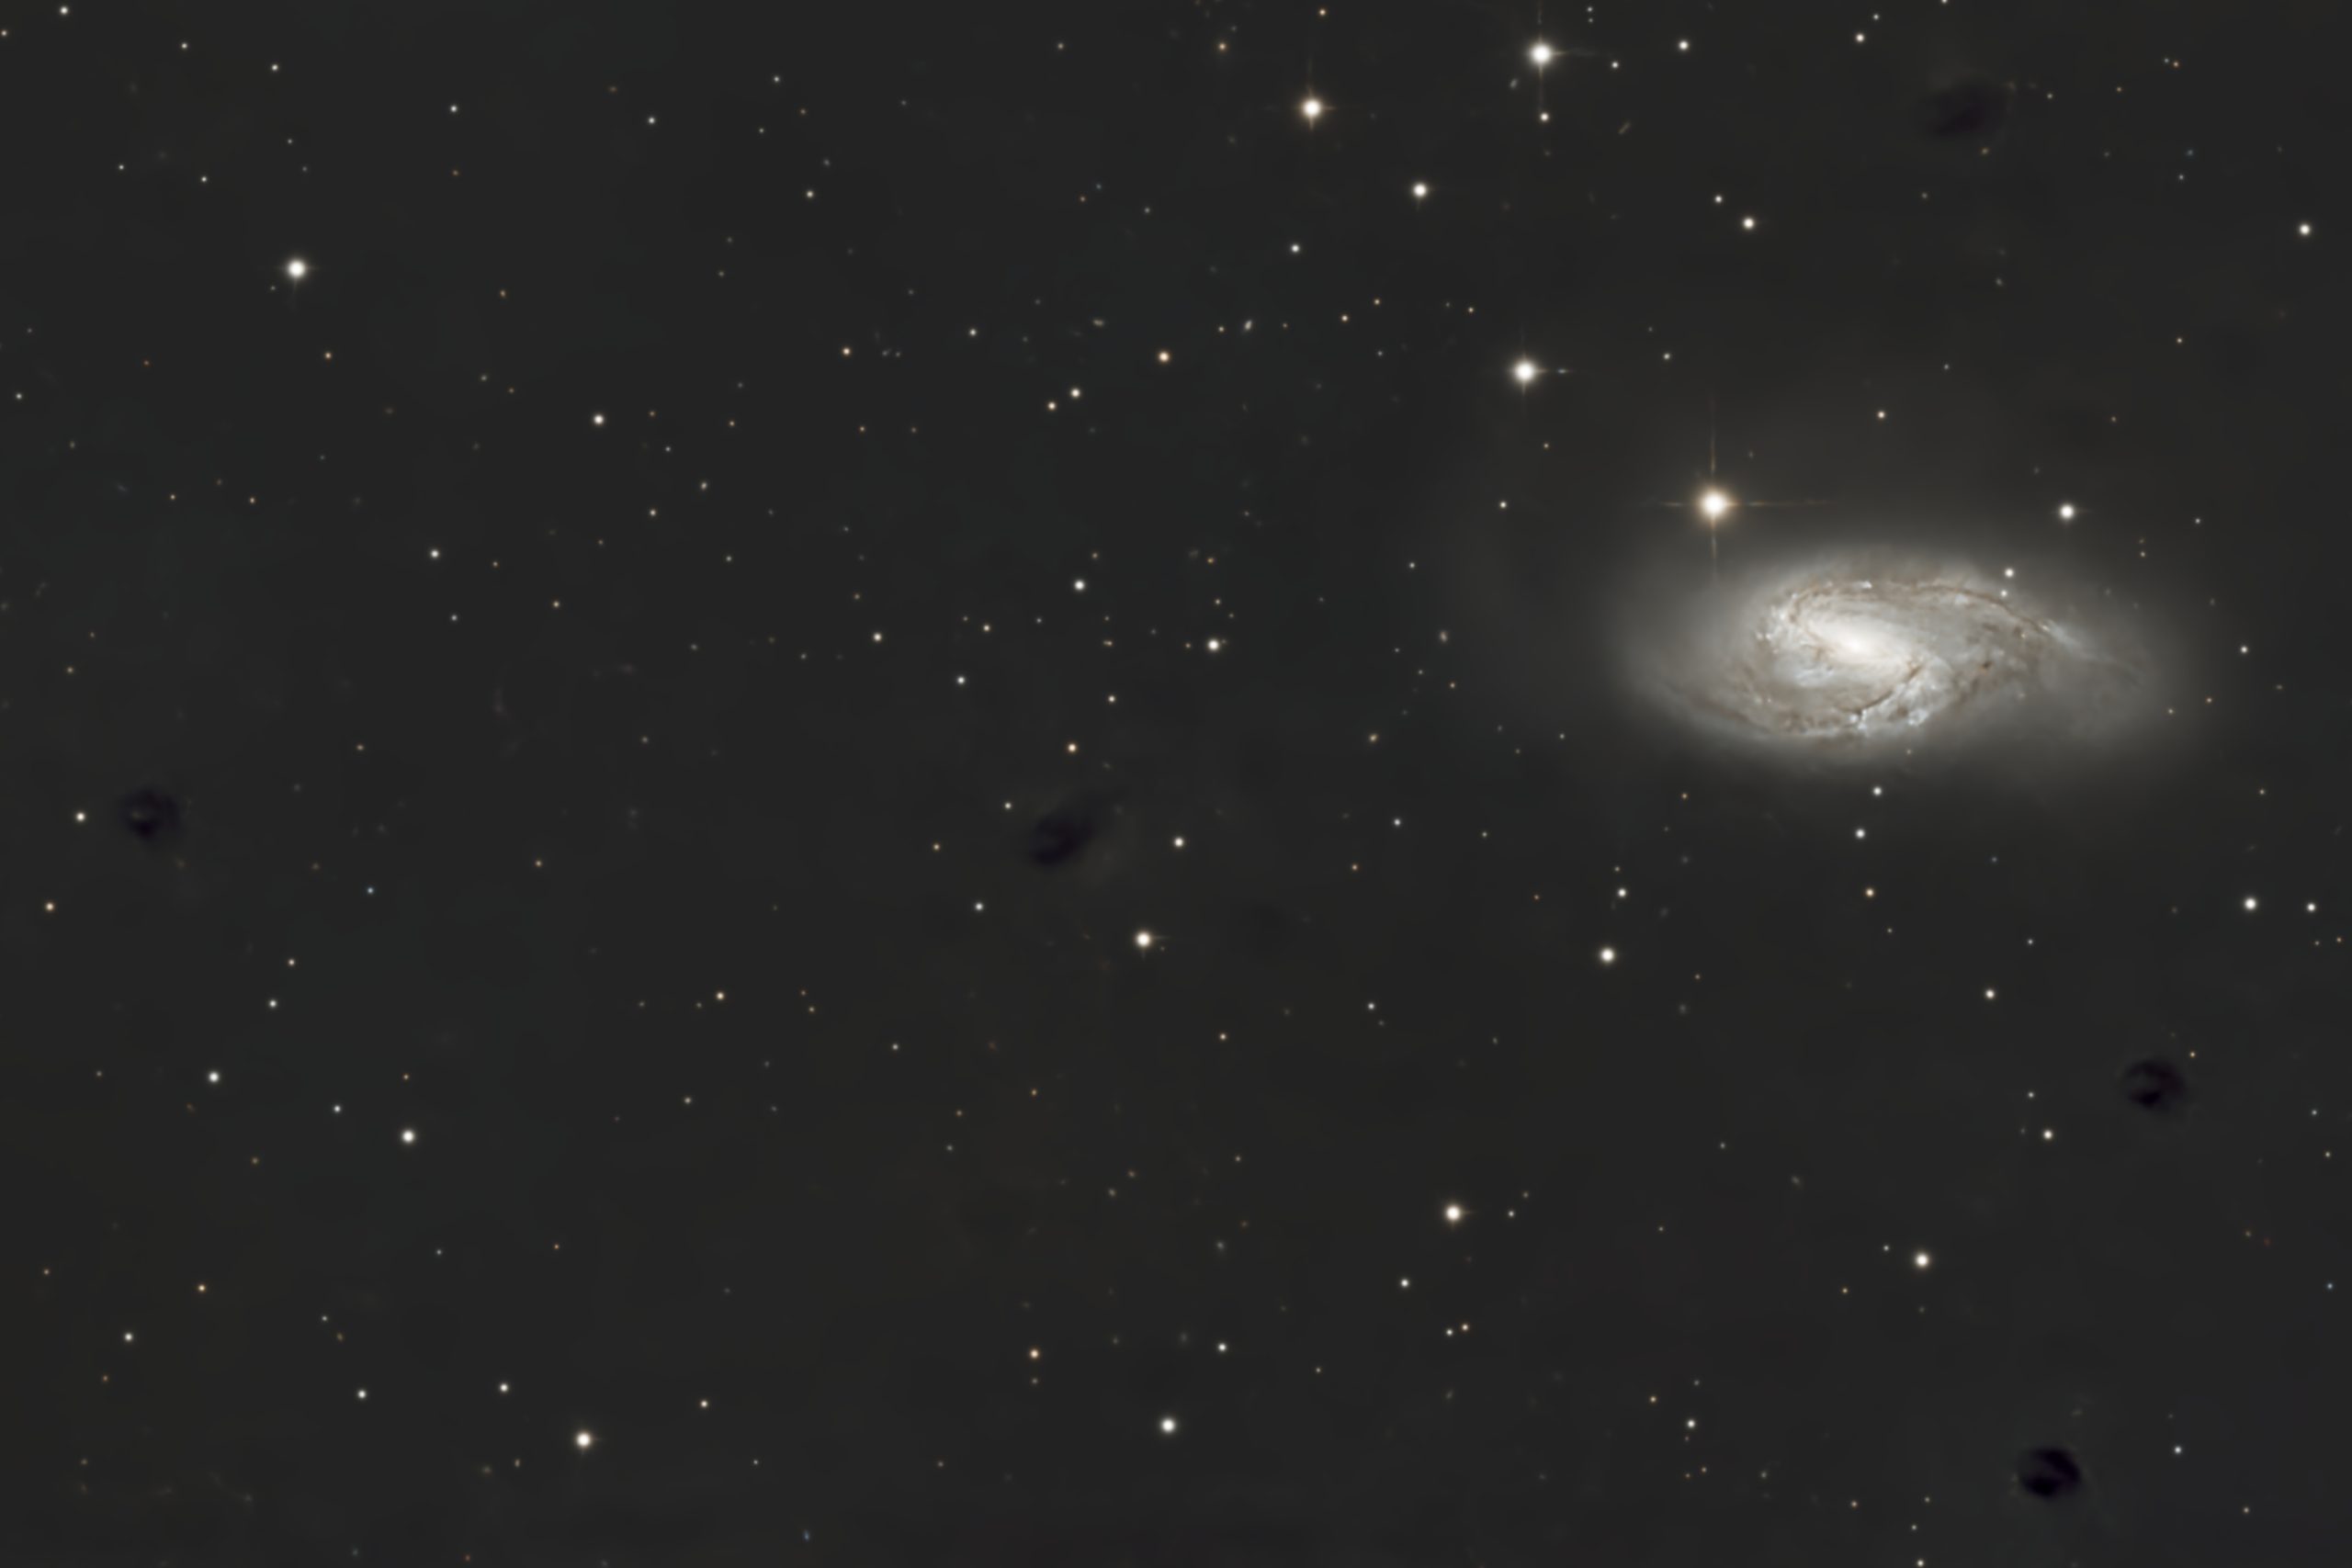
Here’s the overview image for better orientation. The image was integrated in PixInsight, followed by the following steps: Crop, DBE, SPCC, and then in the comparison images (left) directly applying NoiseXTerminator, or (middle) using BlurXTerminator first and then NoiseXTerminator and (right) first BlurXTerminator 2 and then NoiseXTerminator.

The 4 detail pictures for comparison


I used the plugin with default settings. In my perception, the stars become noticeably smaller, reducing the need for subsequent star reduction efforts. Additionally, the nebula structures become significantly sharper. And with BlurXTerminator 2, the stars are round!
Yes, I’ve seen tutorials suggesting that comparable results can be achieved manually. However, I lack the skills for that.
For me, BlurXTerminator 2 is now an integral part of my standard processing workflow!


