It took me some time till i understood how to use Stellarium on my iPhone and my iPad to “plan” or got an idea of the “Field of View” of my differnt astro-imaging configurations.
Here is a little how-to to illustrate how to “configure” the FoV in Stellarium mobile PLUS – not the free version. Nothing can beat the desktop version, but it is still nice if you are on the road.
The FoV option is not available in the free version of Stellarium Mobile.
Tutorial – Configure the FoV
1.: Use the little “Burger”-Menu:

2.: Go to “Observing Tools”:

3.: Activate the “Field of View Simulator”. This produces a new circle button in the bottom corner:

4.: Behind this button, you can create new views or use your existing ones. Klick “Add” and select the type “Rectangle”.
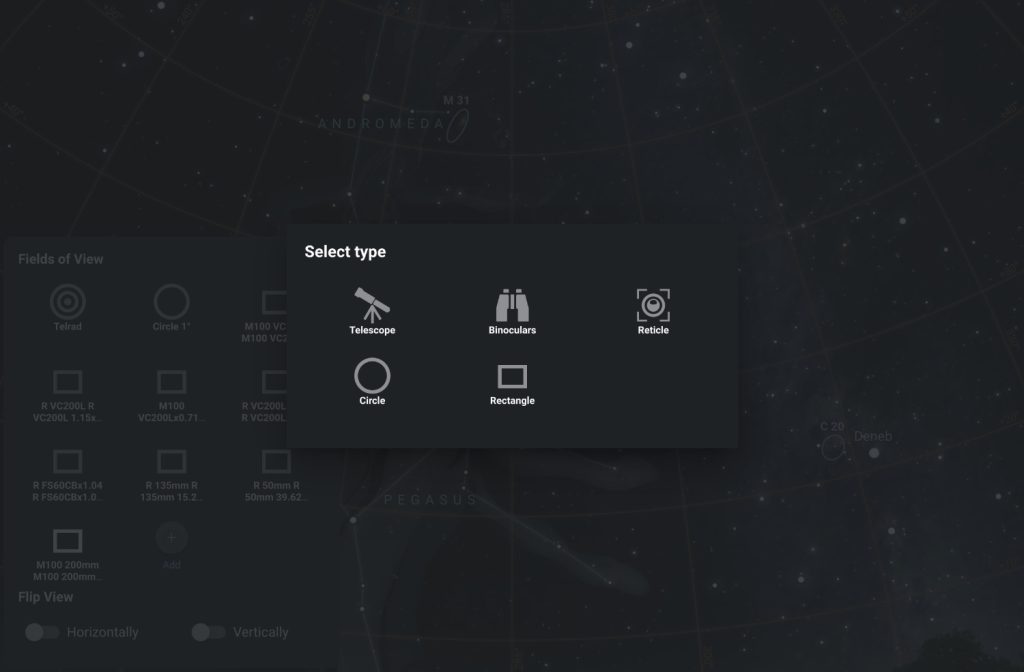
5.: When creating a new one, you can define the width and height in degree of your field of view and define a name for it.
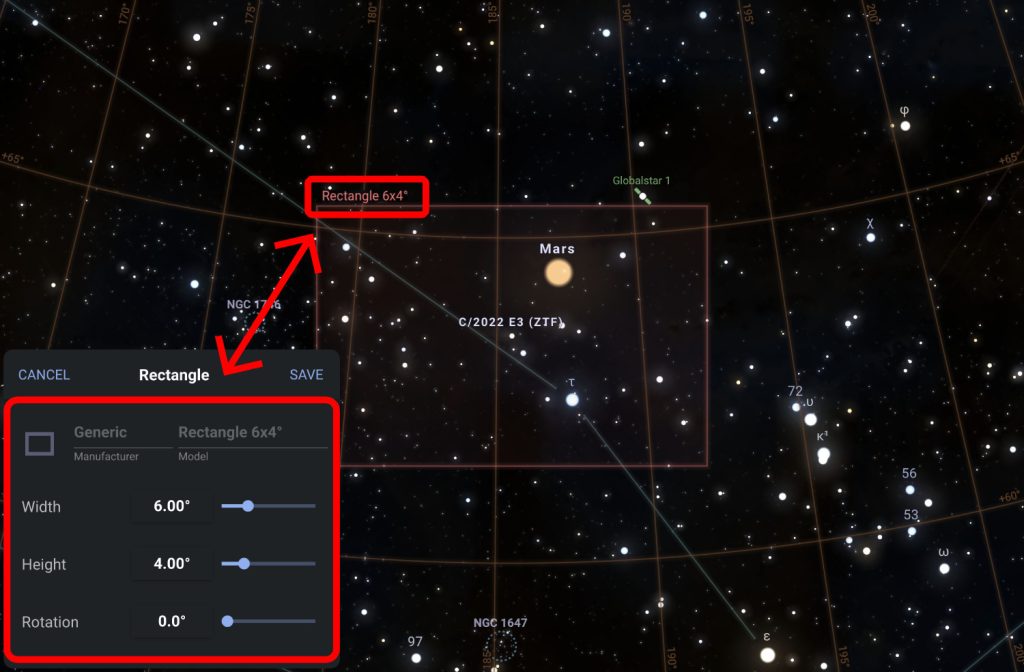
5.: To get the correct FoV for your configuration, you have to use other tools to calculate it. One choice is the page https://astronomy.tools
There is a Field of View Calculator. Use the “Imaging Mode”, Select one of the Messier Objects, define your Telescope (especially the focal length for this purpose), select your camera and you got your calculated your FoV .
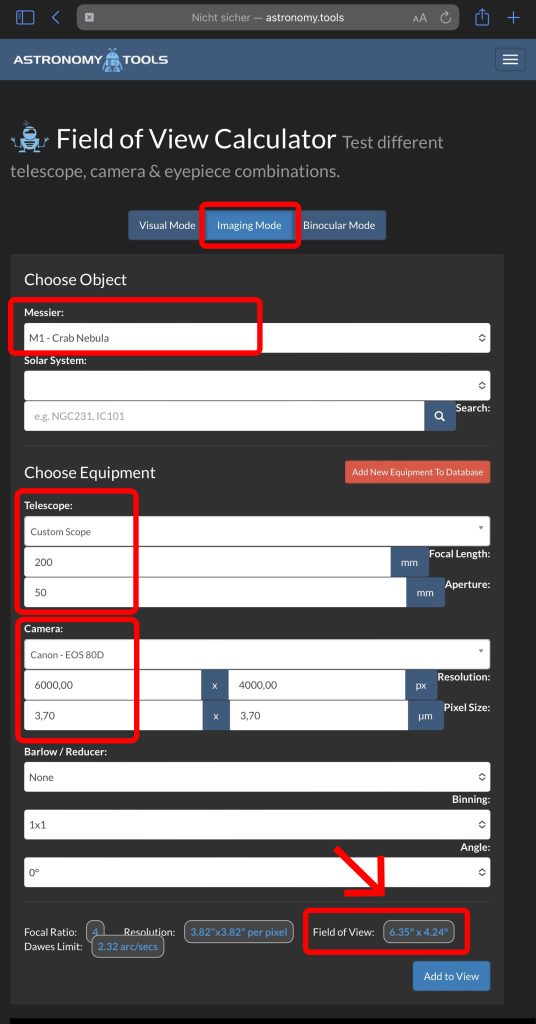
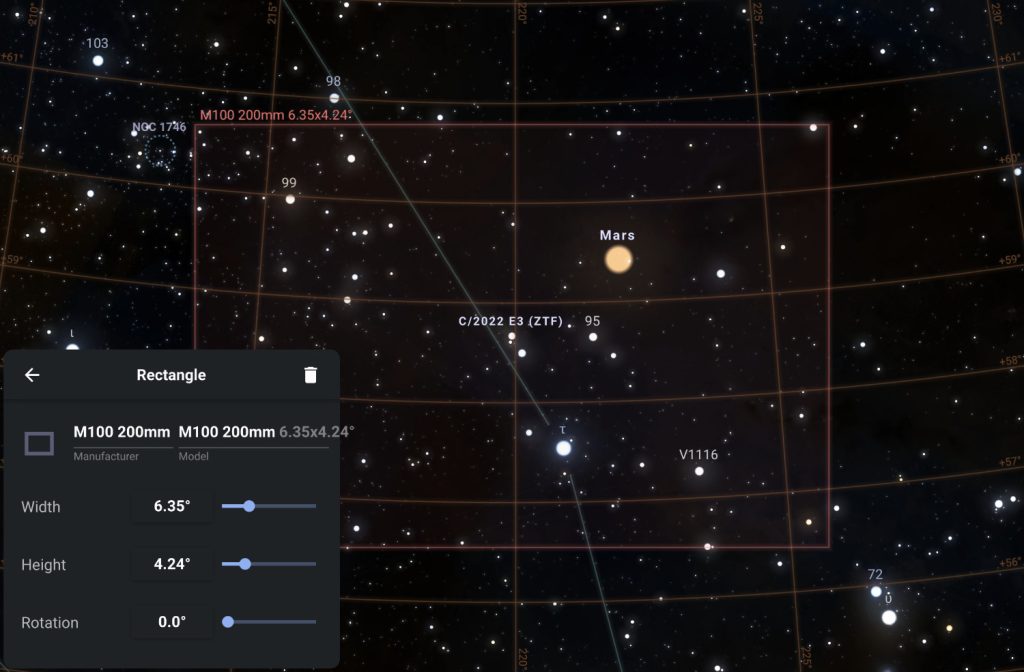
In the next step, you can use the degree values to define the FoV in Stellarium:

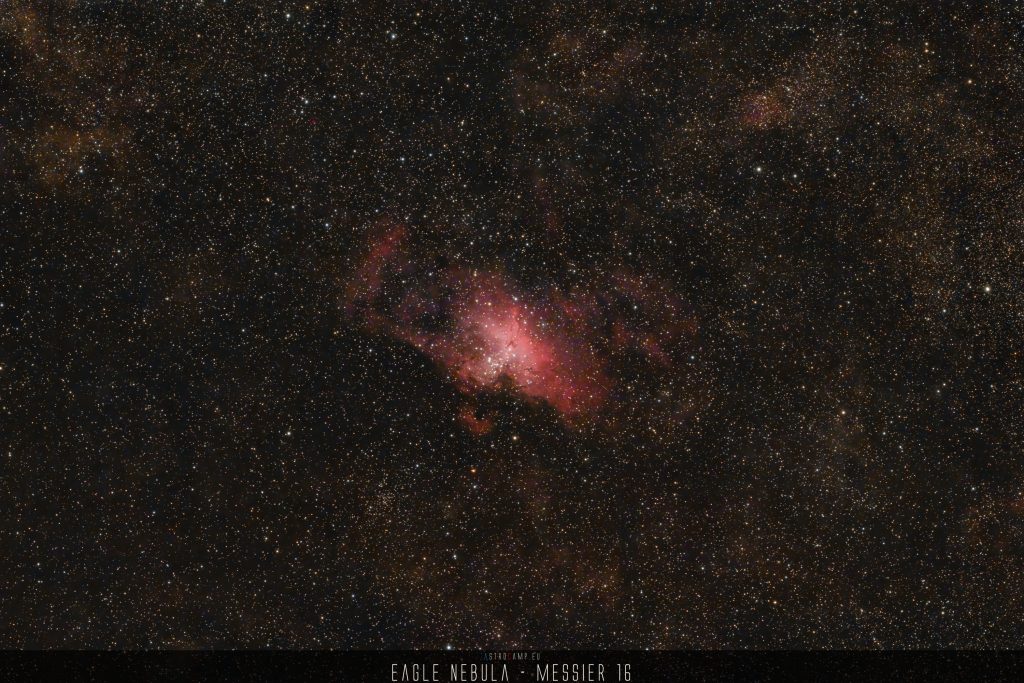
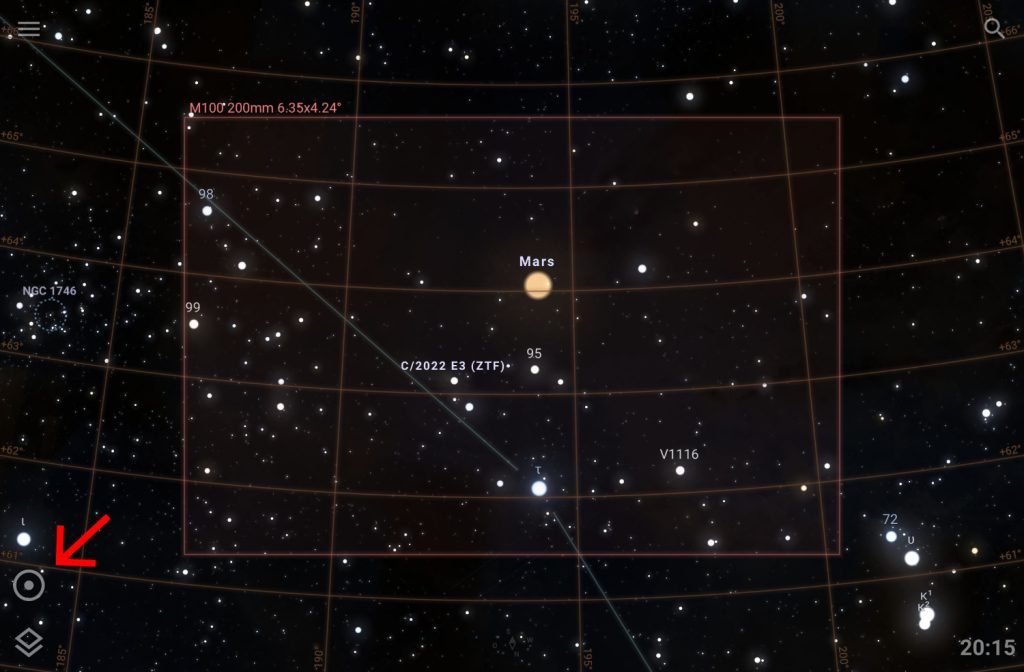
The defined FoV for my CANON M100 with my 200mm lens just looks like this:
If you have defined several different configurations, you can choose them on the fly.
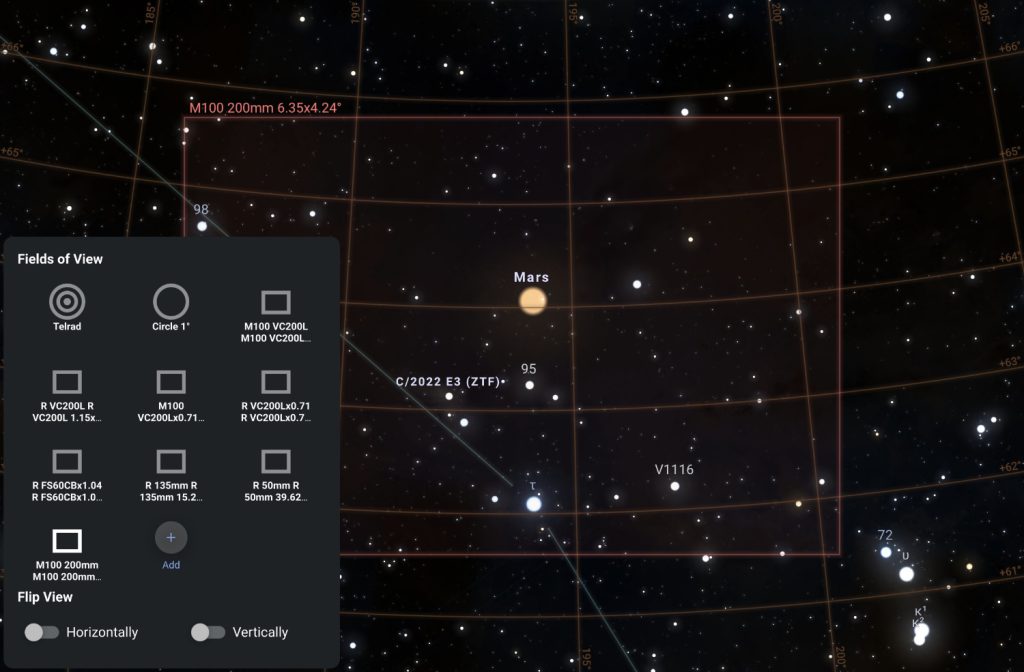
From now on, you can choose the FoV by using the circle button in the lower corner.
Here is a little video about how to rotate the Field of View in Stellarium Mobile:


