Who doesn’t know this? An astrophotography project is finished, and the next clear night is approaching. That’s when you want to plan the next project down to the last detail.
Planning in Stellarium on the desktop
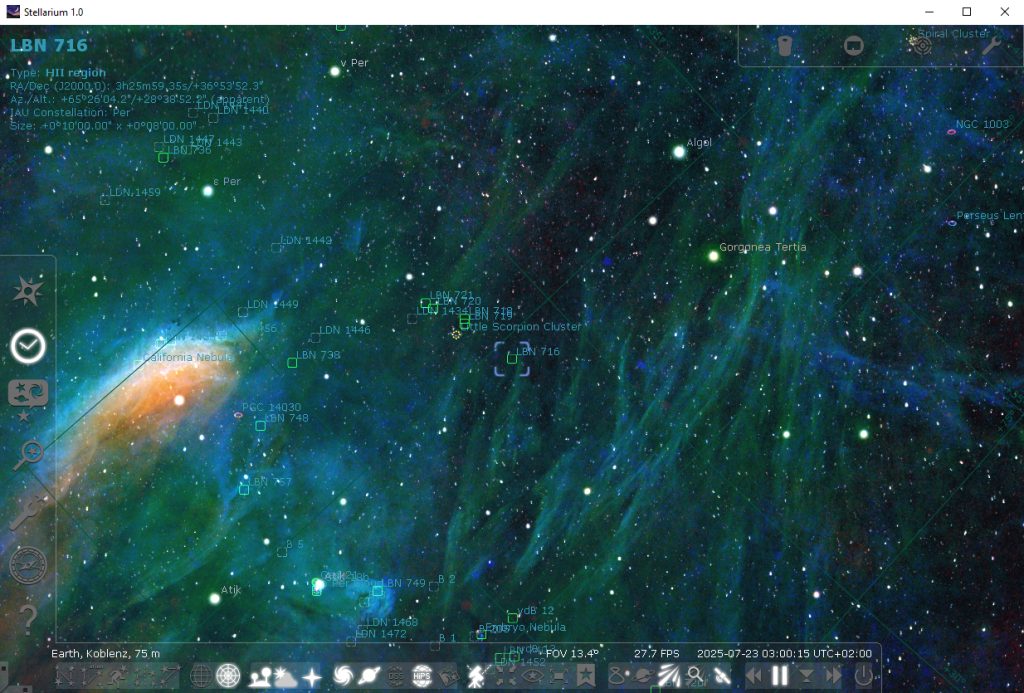
By default, Stellarium displays the background using the Digitized Sky Survey (TOAST).

Here, the “California Nebula” is visible on the left side, and a few stars are shown in color. Unfortunately, that’s where the level of detail ends.
Fortunately, there is a way to display additional background information for your planning in Stellarium:
The “Surveys” or HiPS – Hierarchical Progressive Surveys.
Activating HiPS – Hierarchical Progressive Survey
The HiPS icon can be activated through the “Settings Window” <F2> under “Tools” by checking the box for “HiPS Surveys.”
Selecting the appropriate HiPS surveys
There is an almost endless number of surveys available here. I’ll focus on a small selection that I want to briefly preview for you.
The various full-sky surveys can be found under the “Sky and Display Options” window (<F4>) in the “Surveys” tab, where you select “Deep Sky” from the dropdown menu.
It’s best to select only one survey at a time!
Once selected, you can toggle the survey on and off using the “HiPS” icon.
HiPS Surveys
Here are the HiPS surveys I like to use for planning my astrophotography projects:
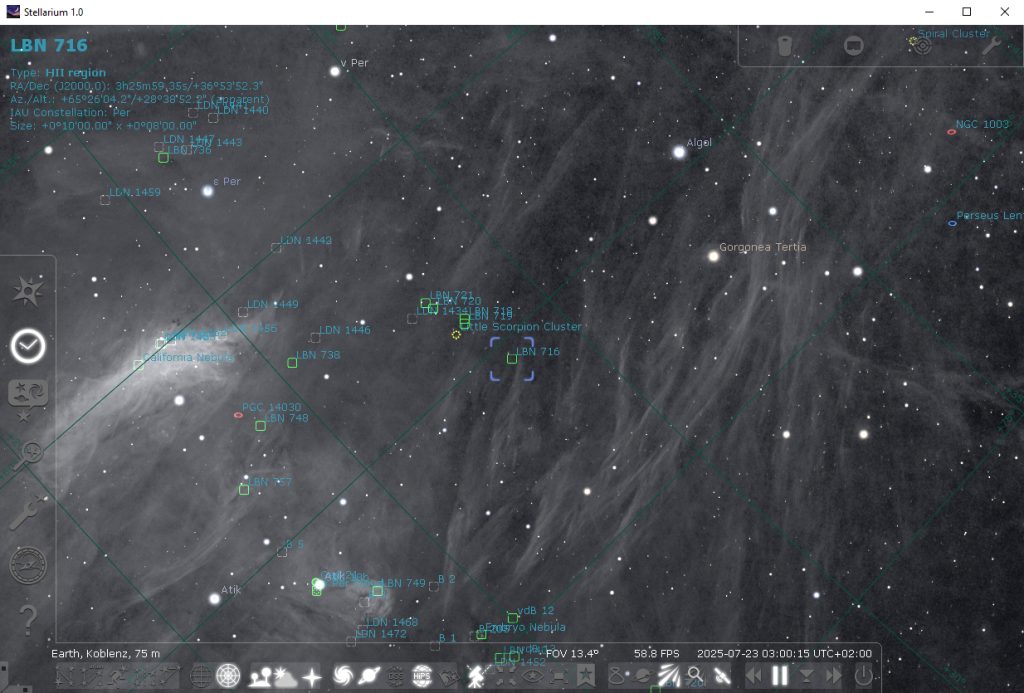
NSNS DR0.2: RGB continuum:

NSNS DR0.2: H-alpha and continuum:

Surveys in H-alpha, OIII and SII
NSNS DR0.2: H-alpha (8 bit):
NSNS DR0.2: [SII] (8 bit):

NSNS DR0.2: [OIII] (8 bit):
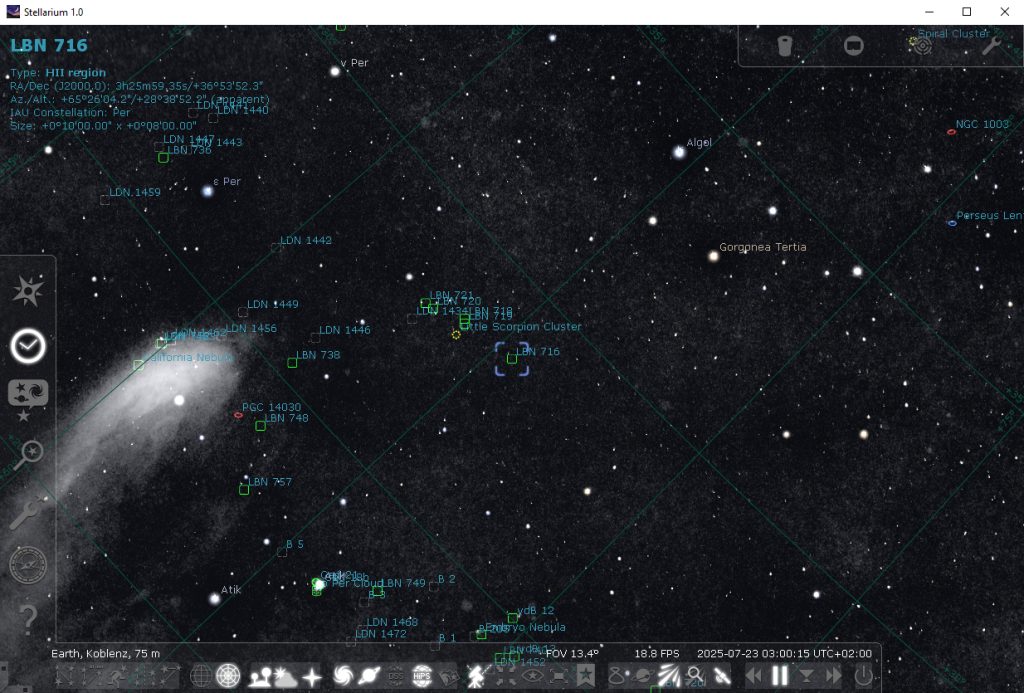
NSNS DR0.2: [OIII], H-alpha and [SII]: