

The Astrophoto Afternoon
Sun with Herschelprism V1. At the end of december i purchased a Herschelprism. And then? 1,5 months of clouds! On february the 12th, the seeing conditions were not good, but i saw the sun. This was reason enough to try my herschelprism for the first time to banish the clouds.

Decision to buy the Lacerta Herschelprism
On the market are a handfull of herschelprisms from different manufacturers. I decided to buy the one from Lacerta, because this one came in a set with ND3-filter and the possibility to use T2 on both sides of the prism or 1,25 on the camera side. I did not plan to use 2″ in the next years.
Telescope choice
I had to answer if I want to use my 80/600 Vixen ED80sf or the achromat Skywatcher Evostar 90/910. Due to the plan to use a narrowband filter anyway, i have chosen to use the Evostar with the longer focal length.
Choice of the Camera
It was the plan to use my CANON EOS M100(a) to start with, taking photos of the sun. One of the reasons to buy a Herschelprism with T2 adapter because i wanted to take photos of the full sun disc. The APS-C chip seems to be nice for doing this. The resolution of the chip and the video abilities of the camera are also ok.
My guidecam OMEGON 1200b was an alternative. I can say, that I will test this one day, due to the small chip. Maybe for some detail photos.
Putting the three components together
And this was the building plan:
[Skywatcher Evostar 90/910} – [Lacerta Herschelprism-(ND3 Filter)-(Baader Solar Continuum Filter 540nm)] – [CANON EOS M100(a)]
I used the T2 thread to build the three main components together. The focuser has only a very short way out, of about 2-3mm, to get into focus.

Lessons Learned at Sun with Herschelprism
The photography of the sun is a bit like planetphotography. Usually this is done by making short videos.
I did a series of videos with a length of 1 minute in HD at 50 frames per second and a few series of 10 RAW photos with an exposure of 1/100s at ISO 200.
It was not easy to get into focus without finetuning and with the bad seeing conditions.
Processing the data
I did the processing with PIPP, Autostakkert! 3 and Affinity Photo.
For the final picture I used 3 out of 40 pictures from the RAW sequence. I did not like the results I got from the video sequences with several thousand frames. But this is not necessarily the way for the future.
High resolution on Flickr:

Session details
| Telescope | Skywatcher Evostar 90/900 |
|---|---|
| Effective focal length | 900 mm |
| Camera | Canon EOS M100(a) |
| Mount | Skywatcher EQ2 |
| Date of capture | 2022-02-12 |
| Frames used | 3 of 40 |
| Calibration frames | – |
| Sensitivity | ISO 200 |
| Capture setup | Camera intern |
| Processing date | 2022-02-12 |
| Software stack | Affinity Photo, AutoStakkert, ImPPG |
| Location | Koblenz, Rheinland |
| Focal ratio | f/10,0 |
| Image scale | 0,85 ″/px |
| Field of view | 85,0 × 56,7 ′ |
Related Pages
Related Posts
 Total solar eclipse – composition, August 12, 2026
 Total solar eclipse – end of totality, August 12, 2026
 Total solar eclipse – prominences, August 12, 2026
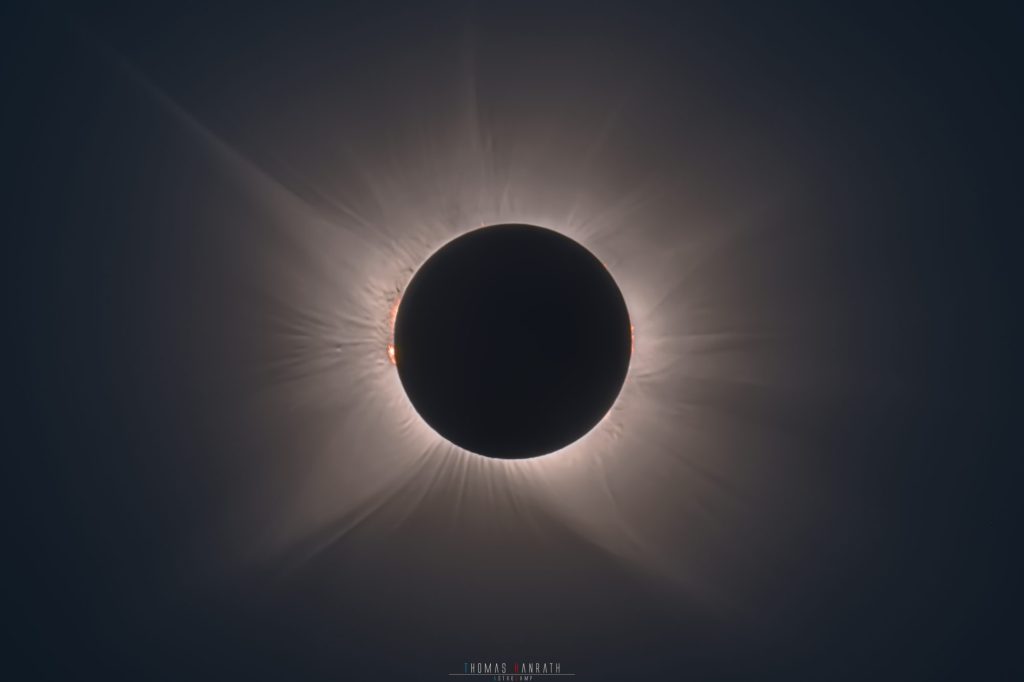 Total solar eclipse – Corona, August 12, 2026
 Sunset Aloha Beach, Jun’25
 Sun in Solar Continuum, Aug’24
 Sun in Solar Continuum, May 12 ’24
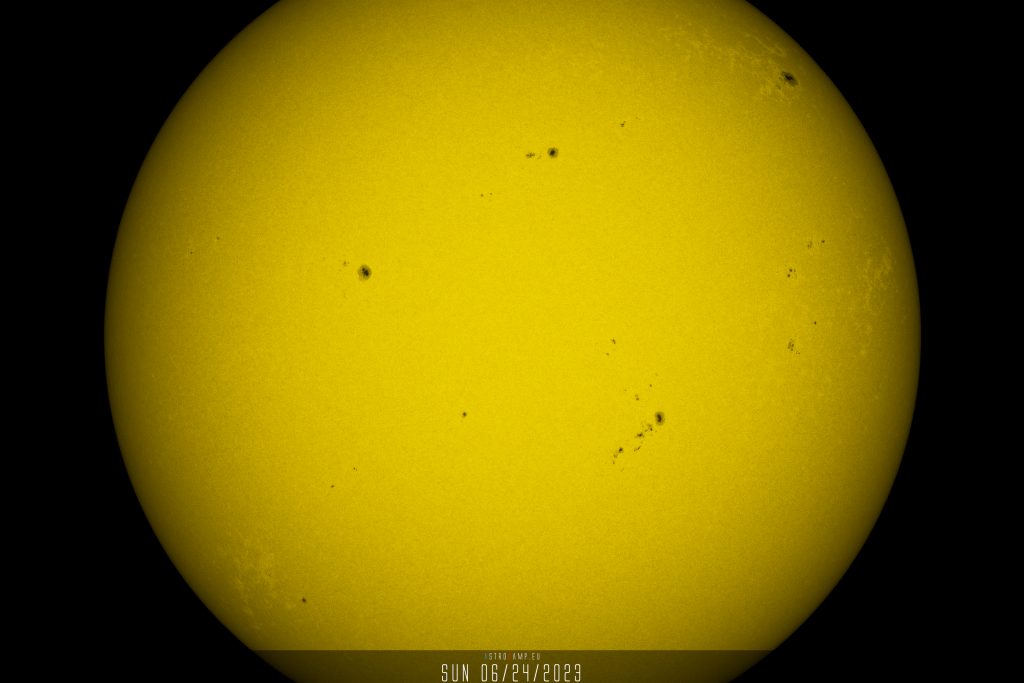 Astrophoto: Sun – summer solstice 06/24/23
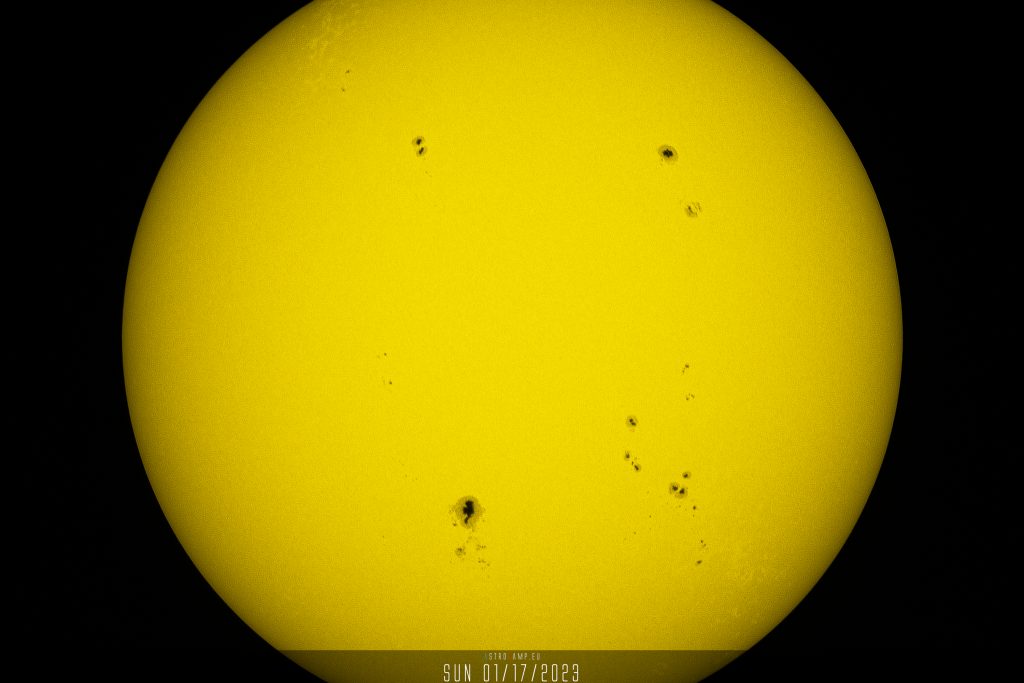 Sun – 01/17/2023
 Solar eclipse – with a Herschel wedge, October 25, 2022
 Sun and Moon with the ED80sf – August 12, 2022
 Sun with a Herschel wedge in solar continuum – March 27, 2022